
Over the last month, I have been working on the flintlock pistol (previously discussed here).
After separating the other artifacts, I removed some of the concretion from the pistol itself. I did not want to take too much off or get too close to the surface of any artifact materials. Instead, we took the pistol back to get additional x-rays and see if there were any hidden surprises.
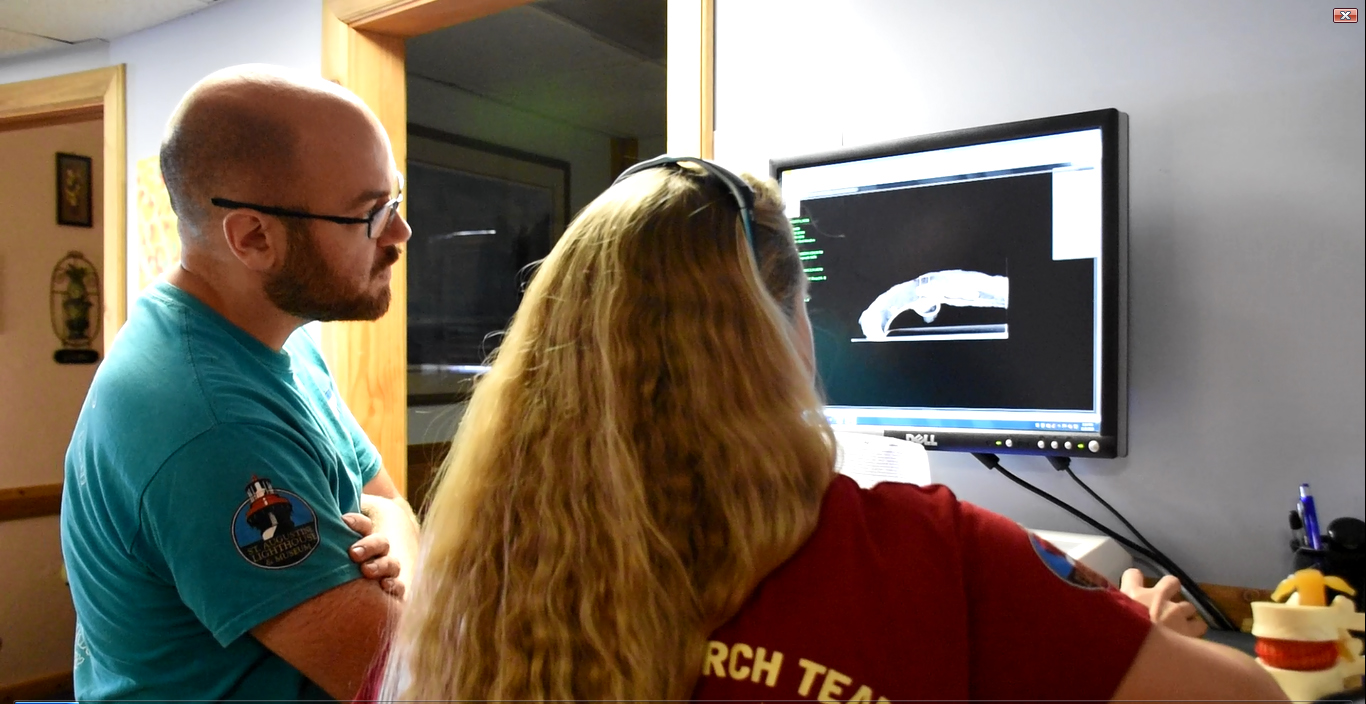
Taking new x-rays of the pistol.
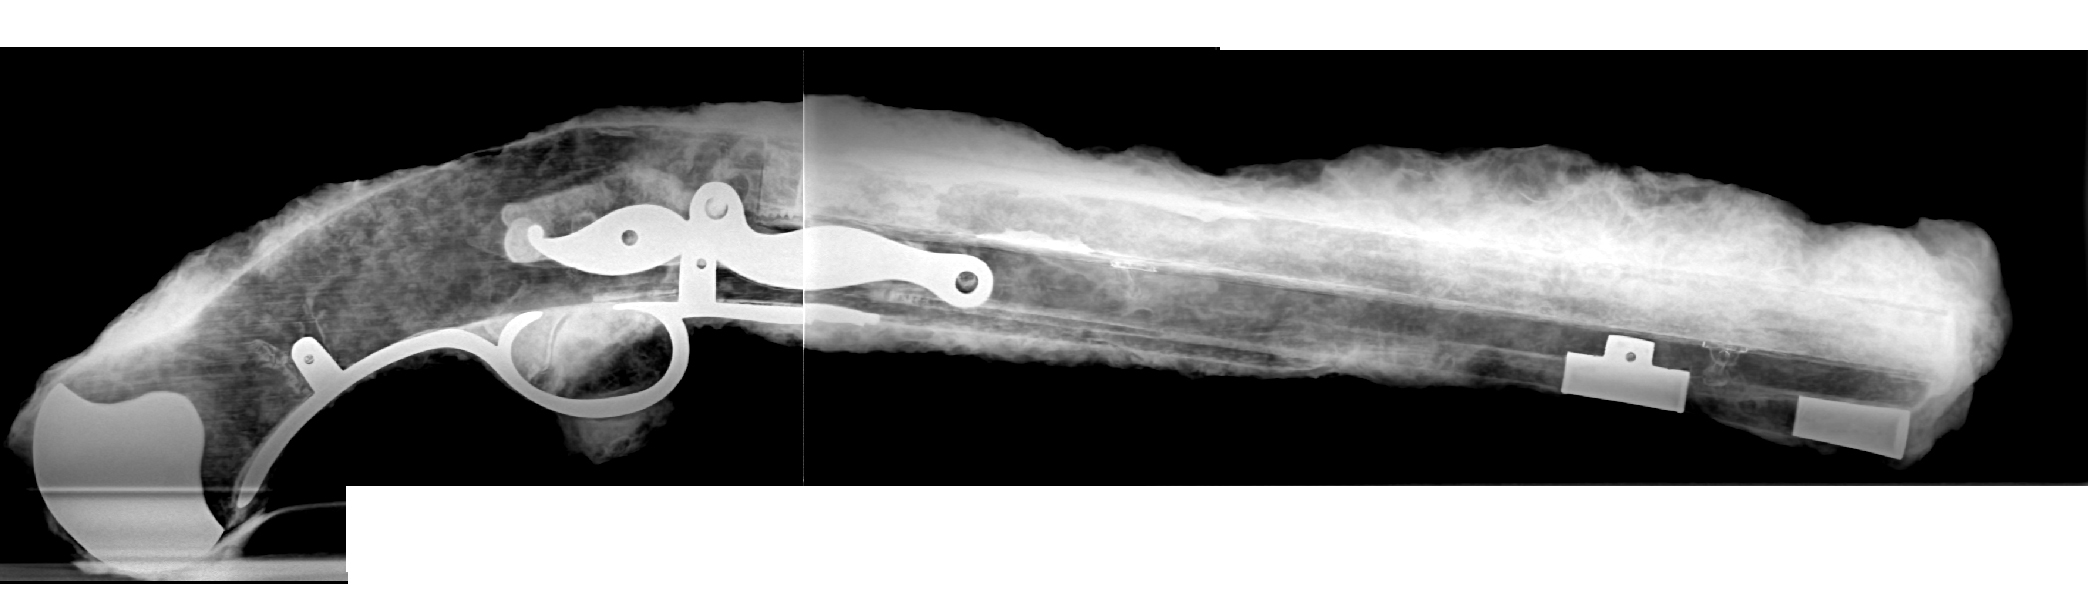
Two x-rays stitched together showing entire pistol.
There did not appear to be any new findings or anything unexpected in the images. However, none of the lock, the firing mechanism or the barrel show up in the x-ray.
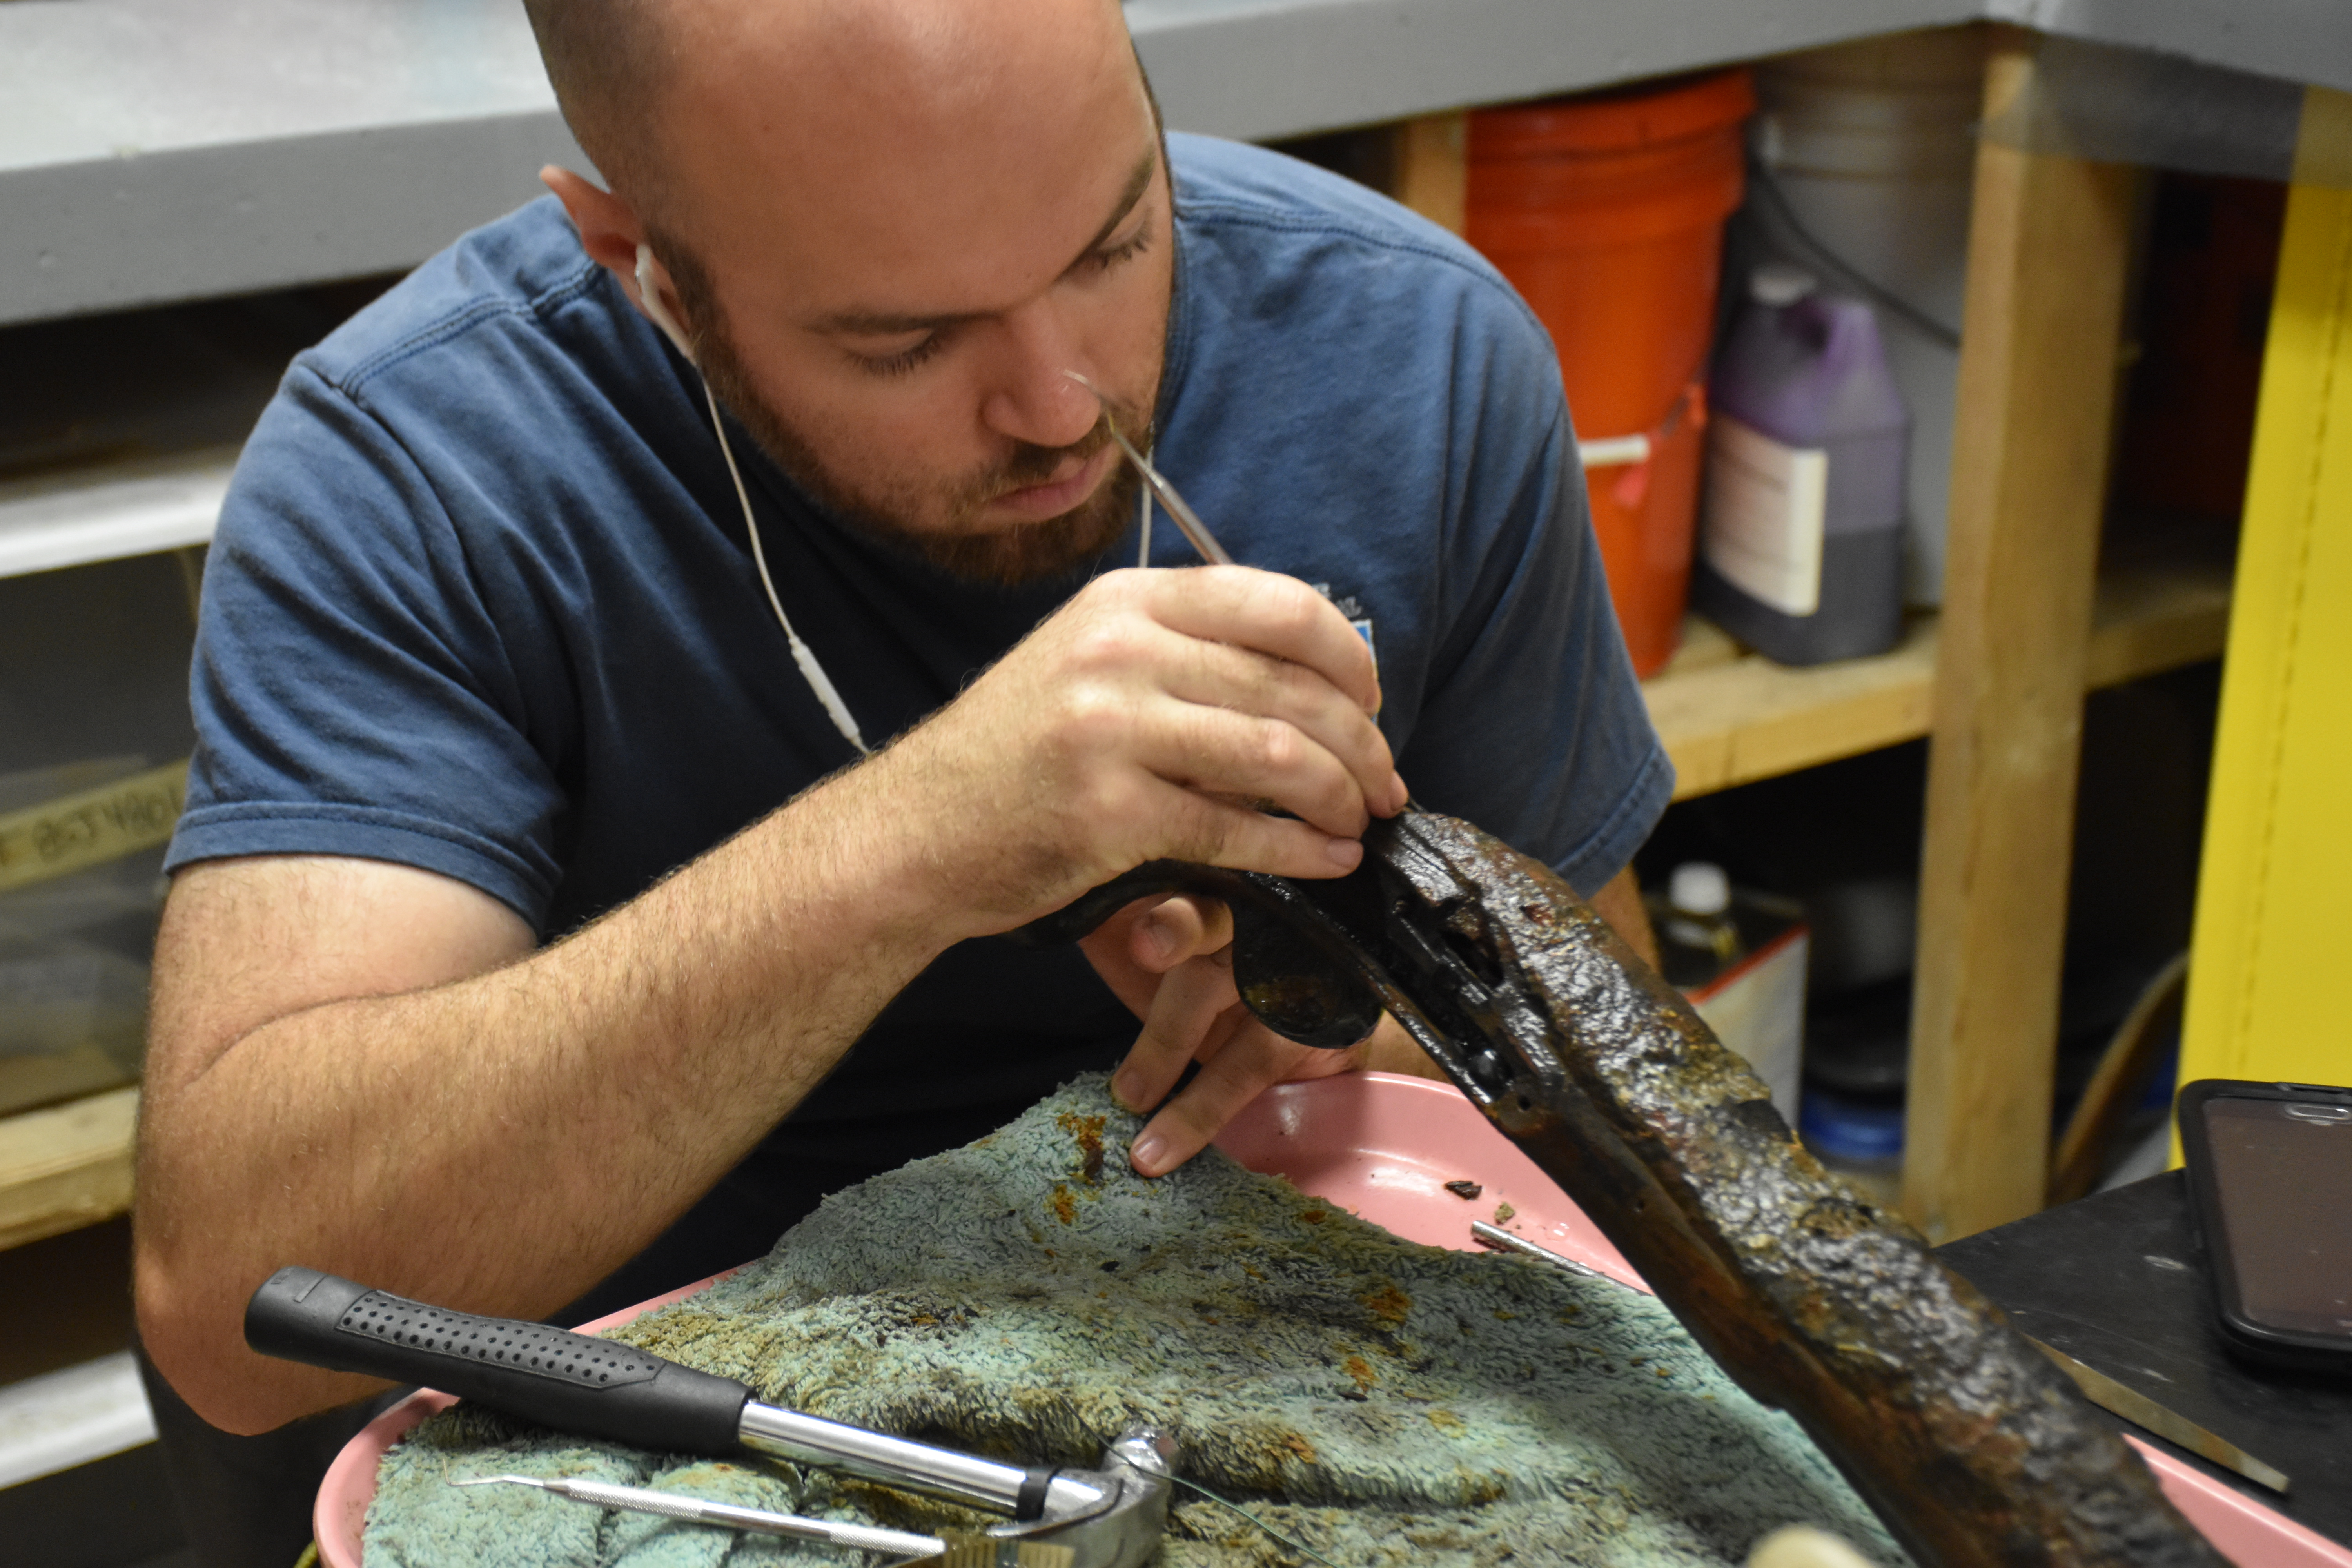
The first step in cleaning the pistol was removing the concretion off the brass fittings. I started working on the metal sections because I could clearly see them in the x-rays and they served as reference points for the rest of the gun. It is also much easier to air scribe off metal and I could use the edges of the brass to determine the condition of the wood.
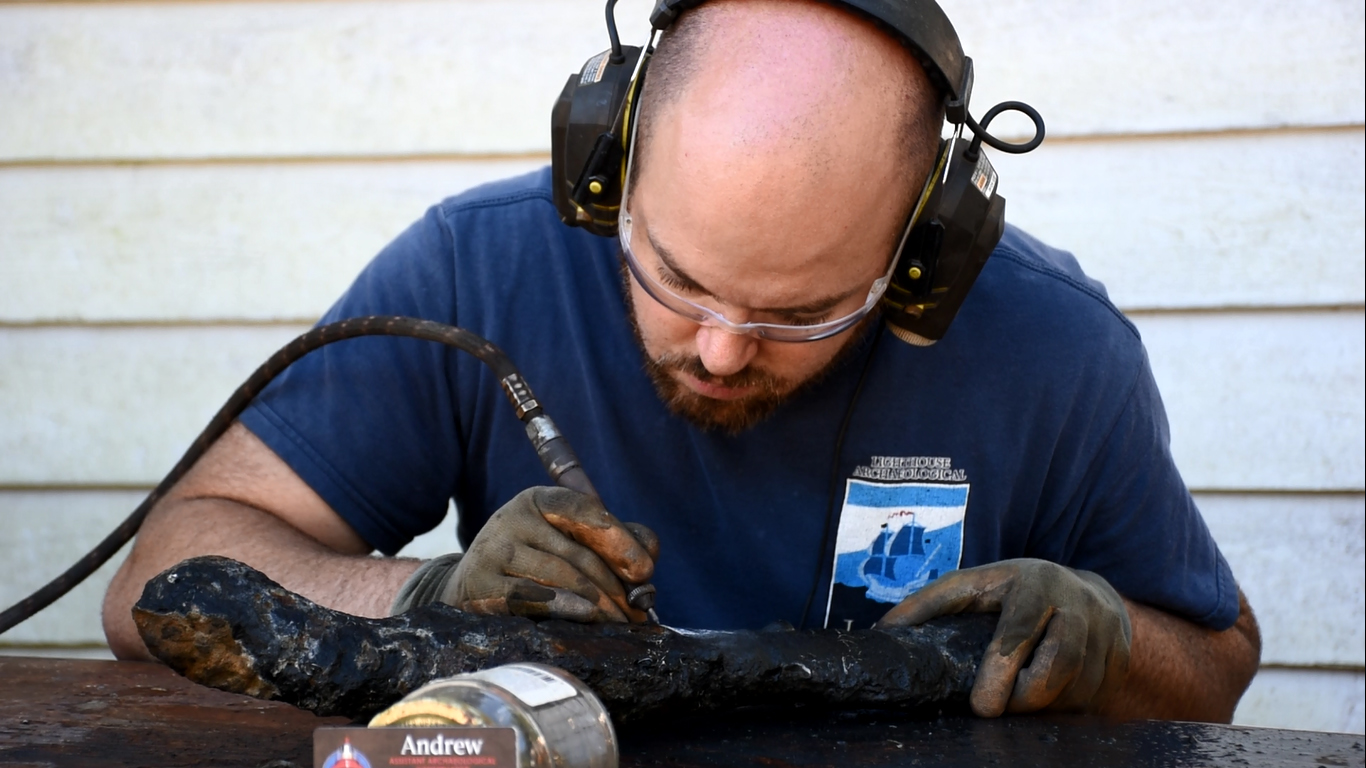
Air scribing the pistol.
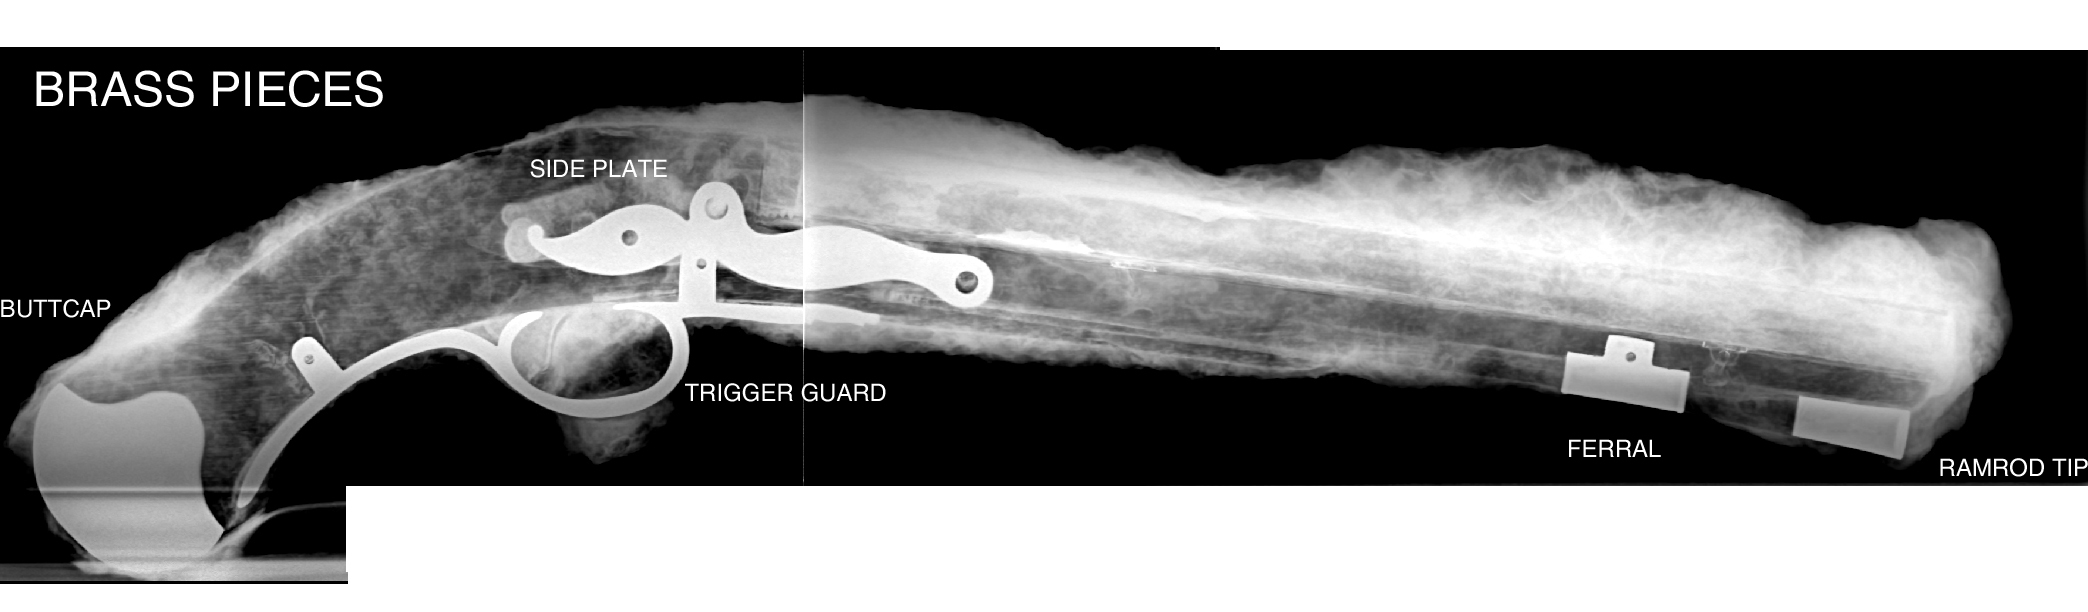
The brass fittings shown in the x-ray.
As I uncovered the brass sections, I found the stock to be in remarkably good condition. The areas around the butt cap, the trigger guard, the side plate and the ramrod ferral and tip were all solid and showed no signs of feathering or disintegration. One issue with air scribing wood is if the material is waterlogged or slightly soft. The percussion of the air scribe can either push the sediment and shell into the surface or it will take pieces of the wood with it when the concretion comes off. I was hesitant to air scribe directly over the stock at first, but seeing that the wood was in great shape, I began air scribing the rest of the surface. One other very welcome surprise was the state of the ramrod. Since it is much smaller, thinner and separate from the single-piece stock, I was concerned it might fall apart or not be there at all. Fortunately, the ramrod was also very well preserved and I could uncover it entirely.
A possible explanation for why the wood is still solid and looks nearly pristine is due to the absence and corrosion of other pieces of the pistol. Looking at the x-ray, it is evident that the iron barrel, trigger, lock, hammer and frizzen are all gone. When iron rusts underwater, the corrosion product can bleed into and impregnate the wood. In turn, the iron will prevent marine life that likes to consume organic material from destroying the wood.
While it is a tradeoff of losing the iron barrel in order to preserve the wood stock, it is not a total loss. I scraped out the junk metal from the muzzle of the barrel and took a measurement of the bore caliber. Next, I continued removing the iron and concretion from the middle of the bore using wire and dental picks. When the barrel was clear of as much of the bad iron as possible, I made a mold of the interior.
Removing iron from the barrel.
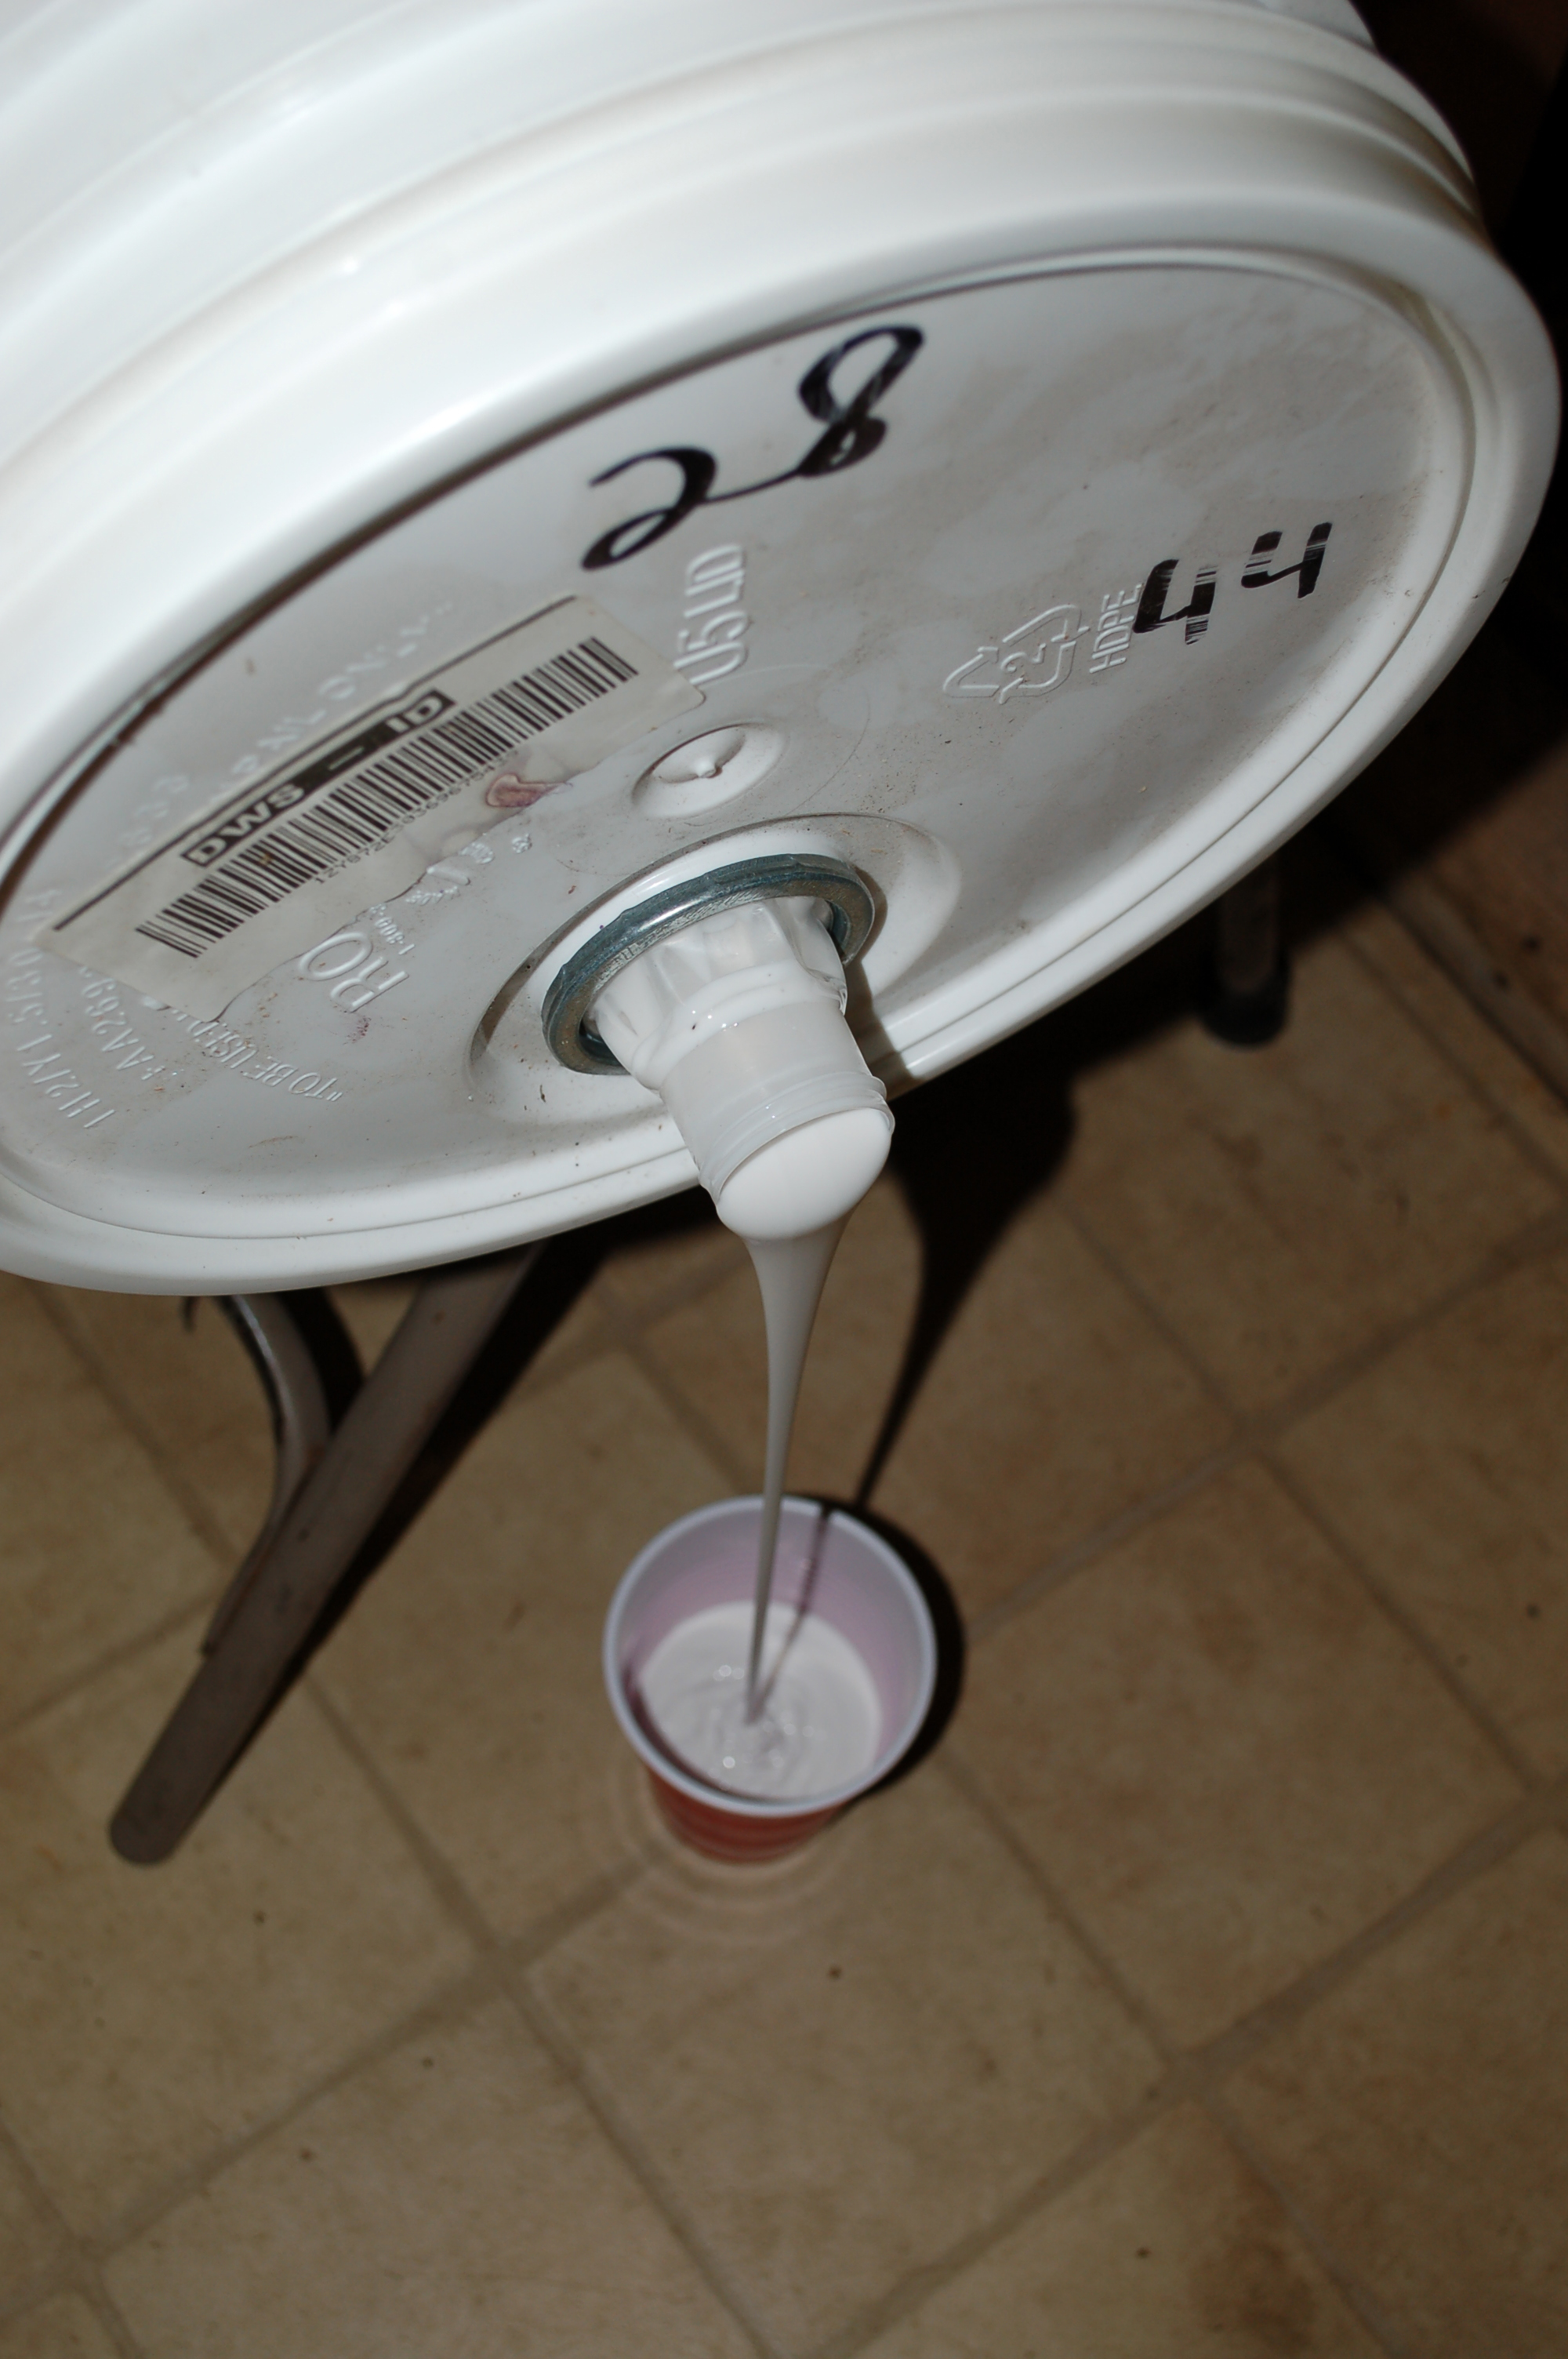
Mixing silicon rubber.
Often there are identifying marks from the manufacturer or the people responsible for testing the quality of the barrel. I poured silicon rubber into the barrel hole with the hopes that it would pick up some of the impressions of the marks. In most cases, I would use a two-part resin epoxy to fill the void and get a more durable cast replica. However, I did not want to risk the resin seeping into and bonding with the wooden stock and not be able to separate them without significant damage. The silicon rubber will only bond with itself, so it makes it easy to peel away from an artifact surface.
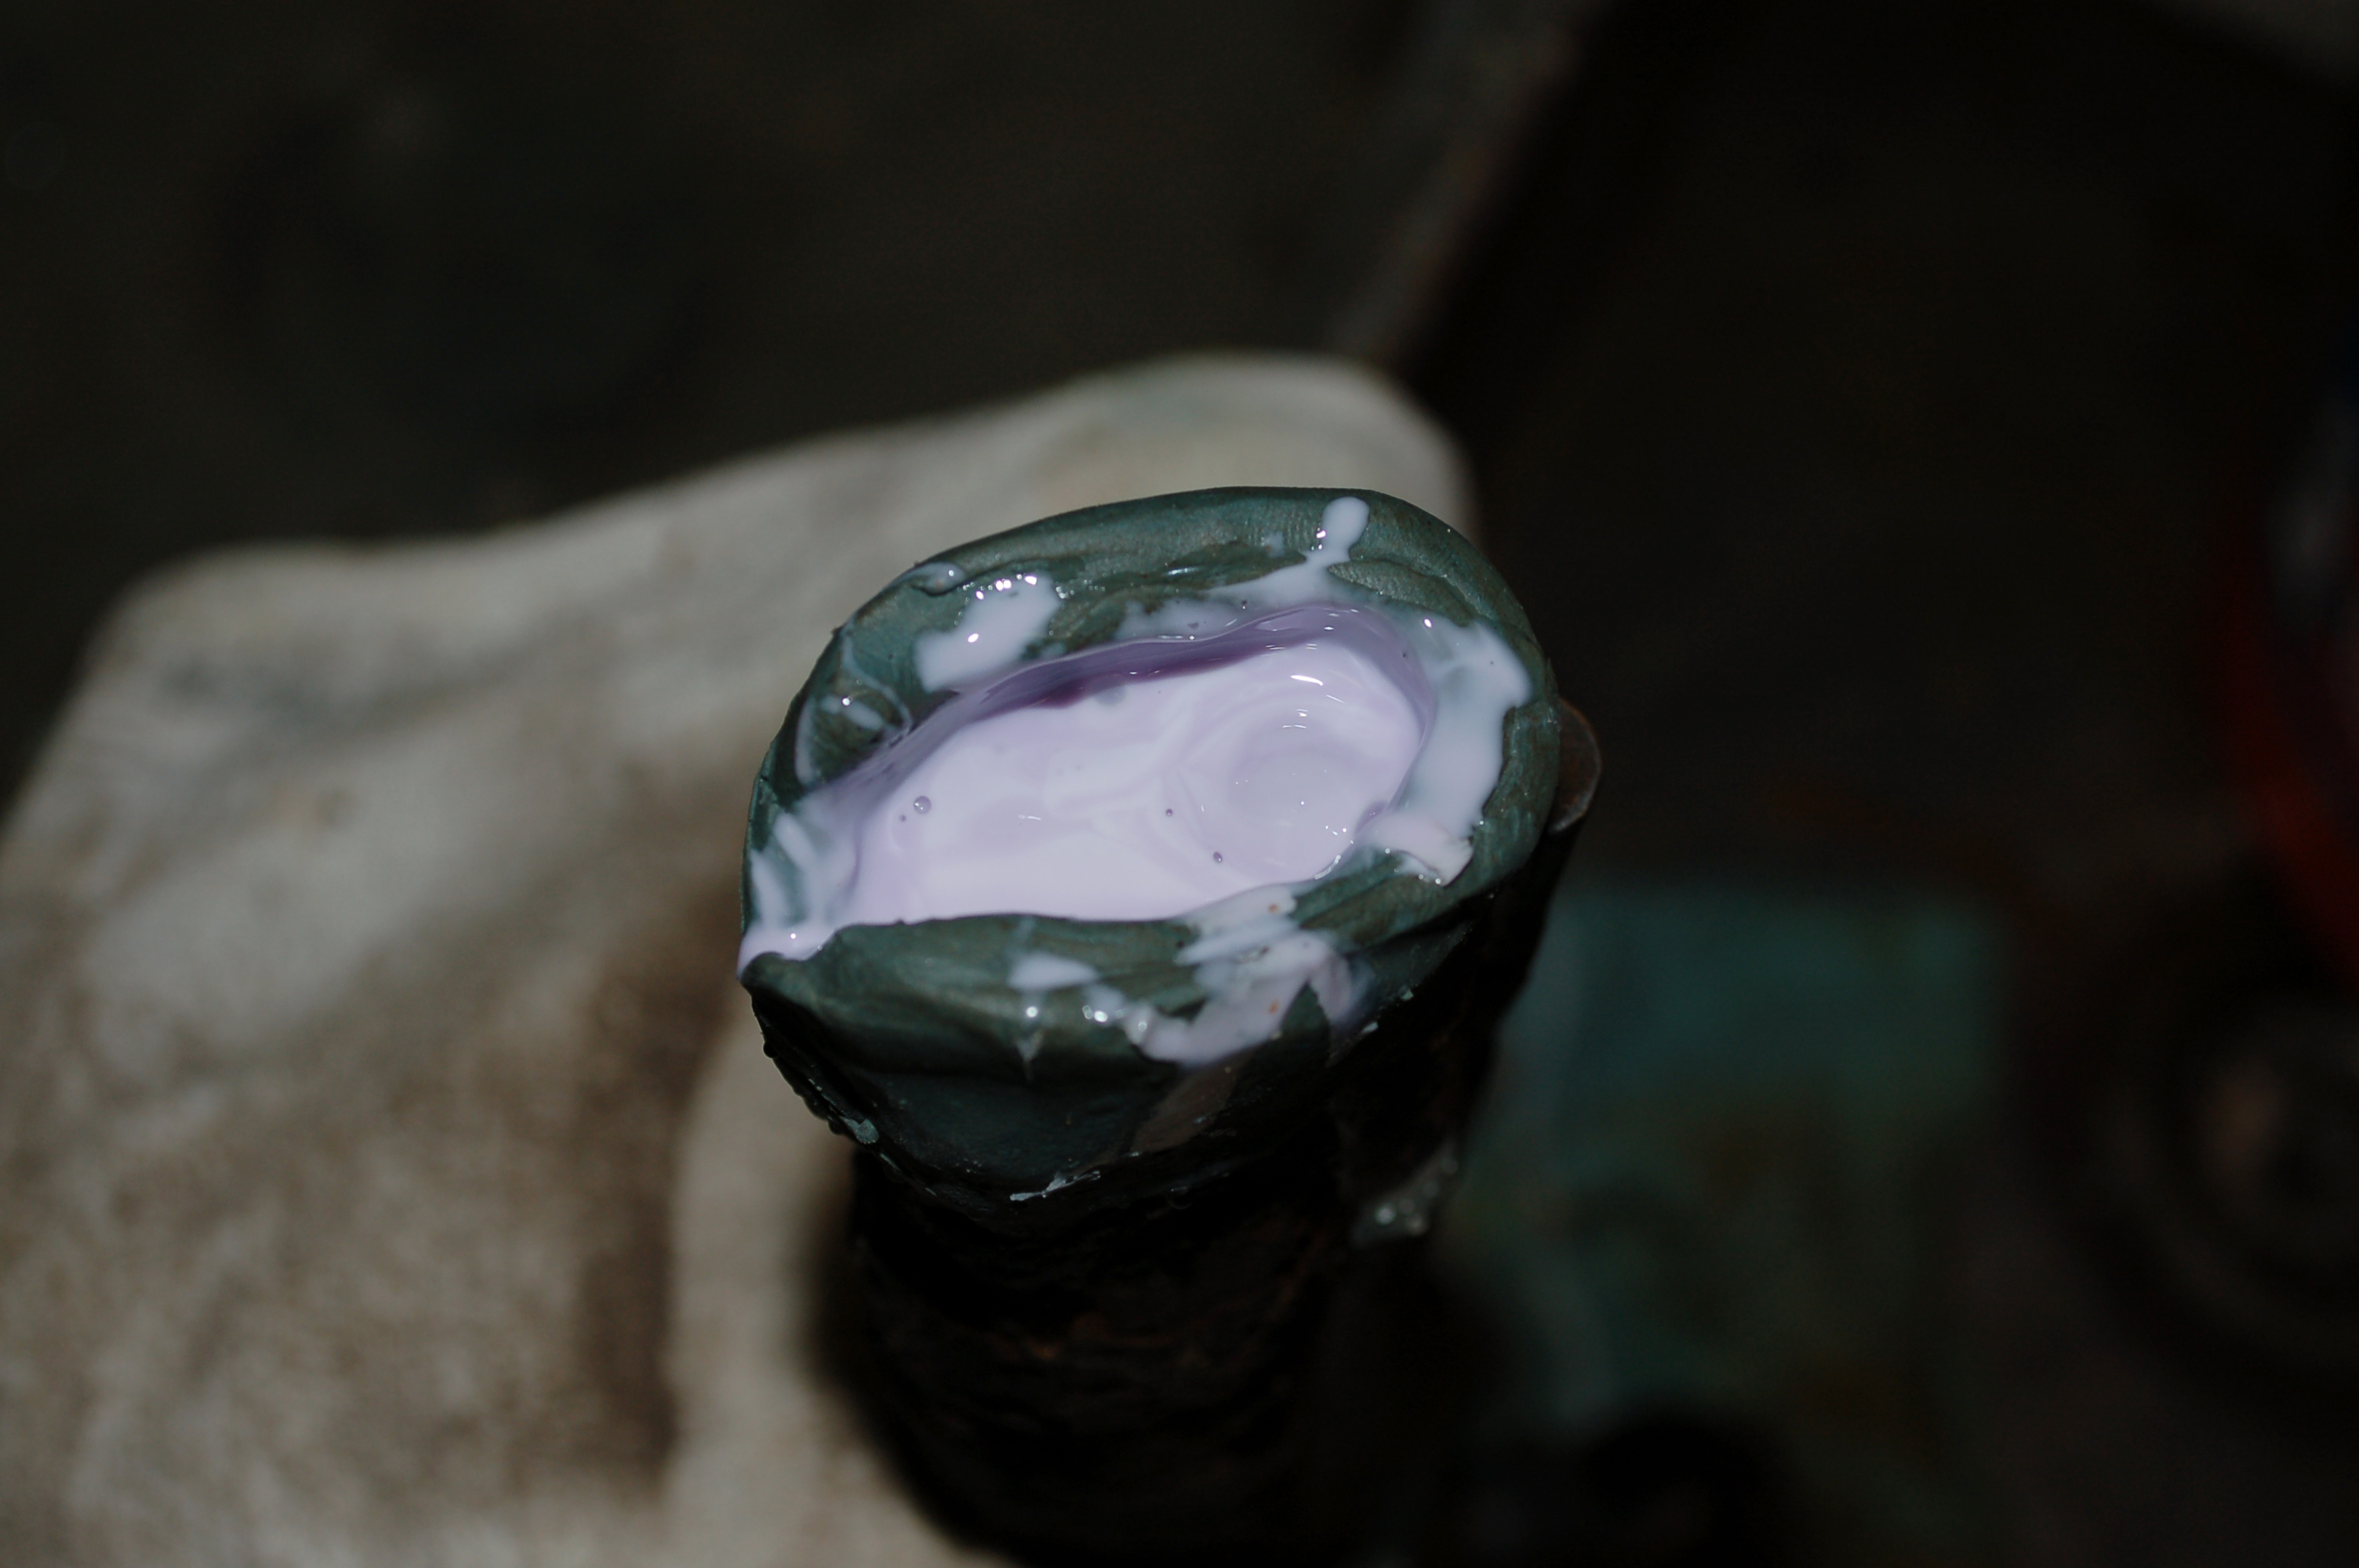
Pouring silicon rubber into the empty bore.
After the rubber had cured and set, I began working on the section where the lock, the hammer and frizzen would be. As stated before, no traces of the pieces showed up in the x-rays. Still, I very carefully air scribed the area until I started getting close to the wood. I was certain no metal remained and there were no voids where the iron corroded out. I then used dental picks to remove as much of the concretion from inside the lock.
While picking out this area I found two impressions in the wood. They are too faint to determine what the markings are, but look like two numbers or lines punched into the surface. Likely, these marks correspond to the lock that would have been secured into the side of the stock. To help figure out what they are, I am doing the same method as the barrel and pouring silicon rubber into the open section of the stock. I hope that the mold will copy the impressions and make them a little more legible.
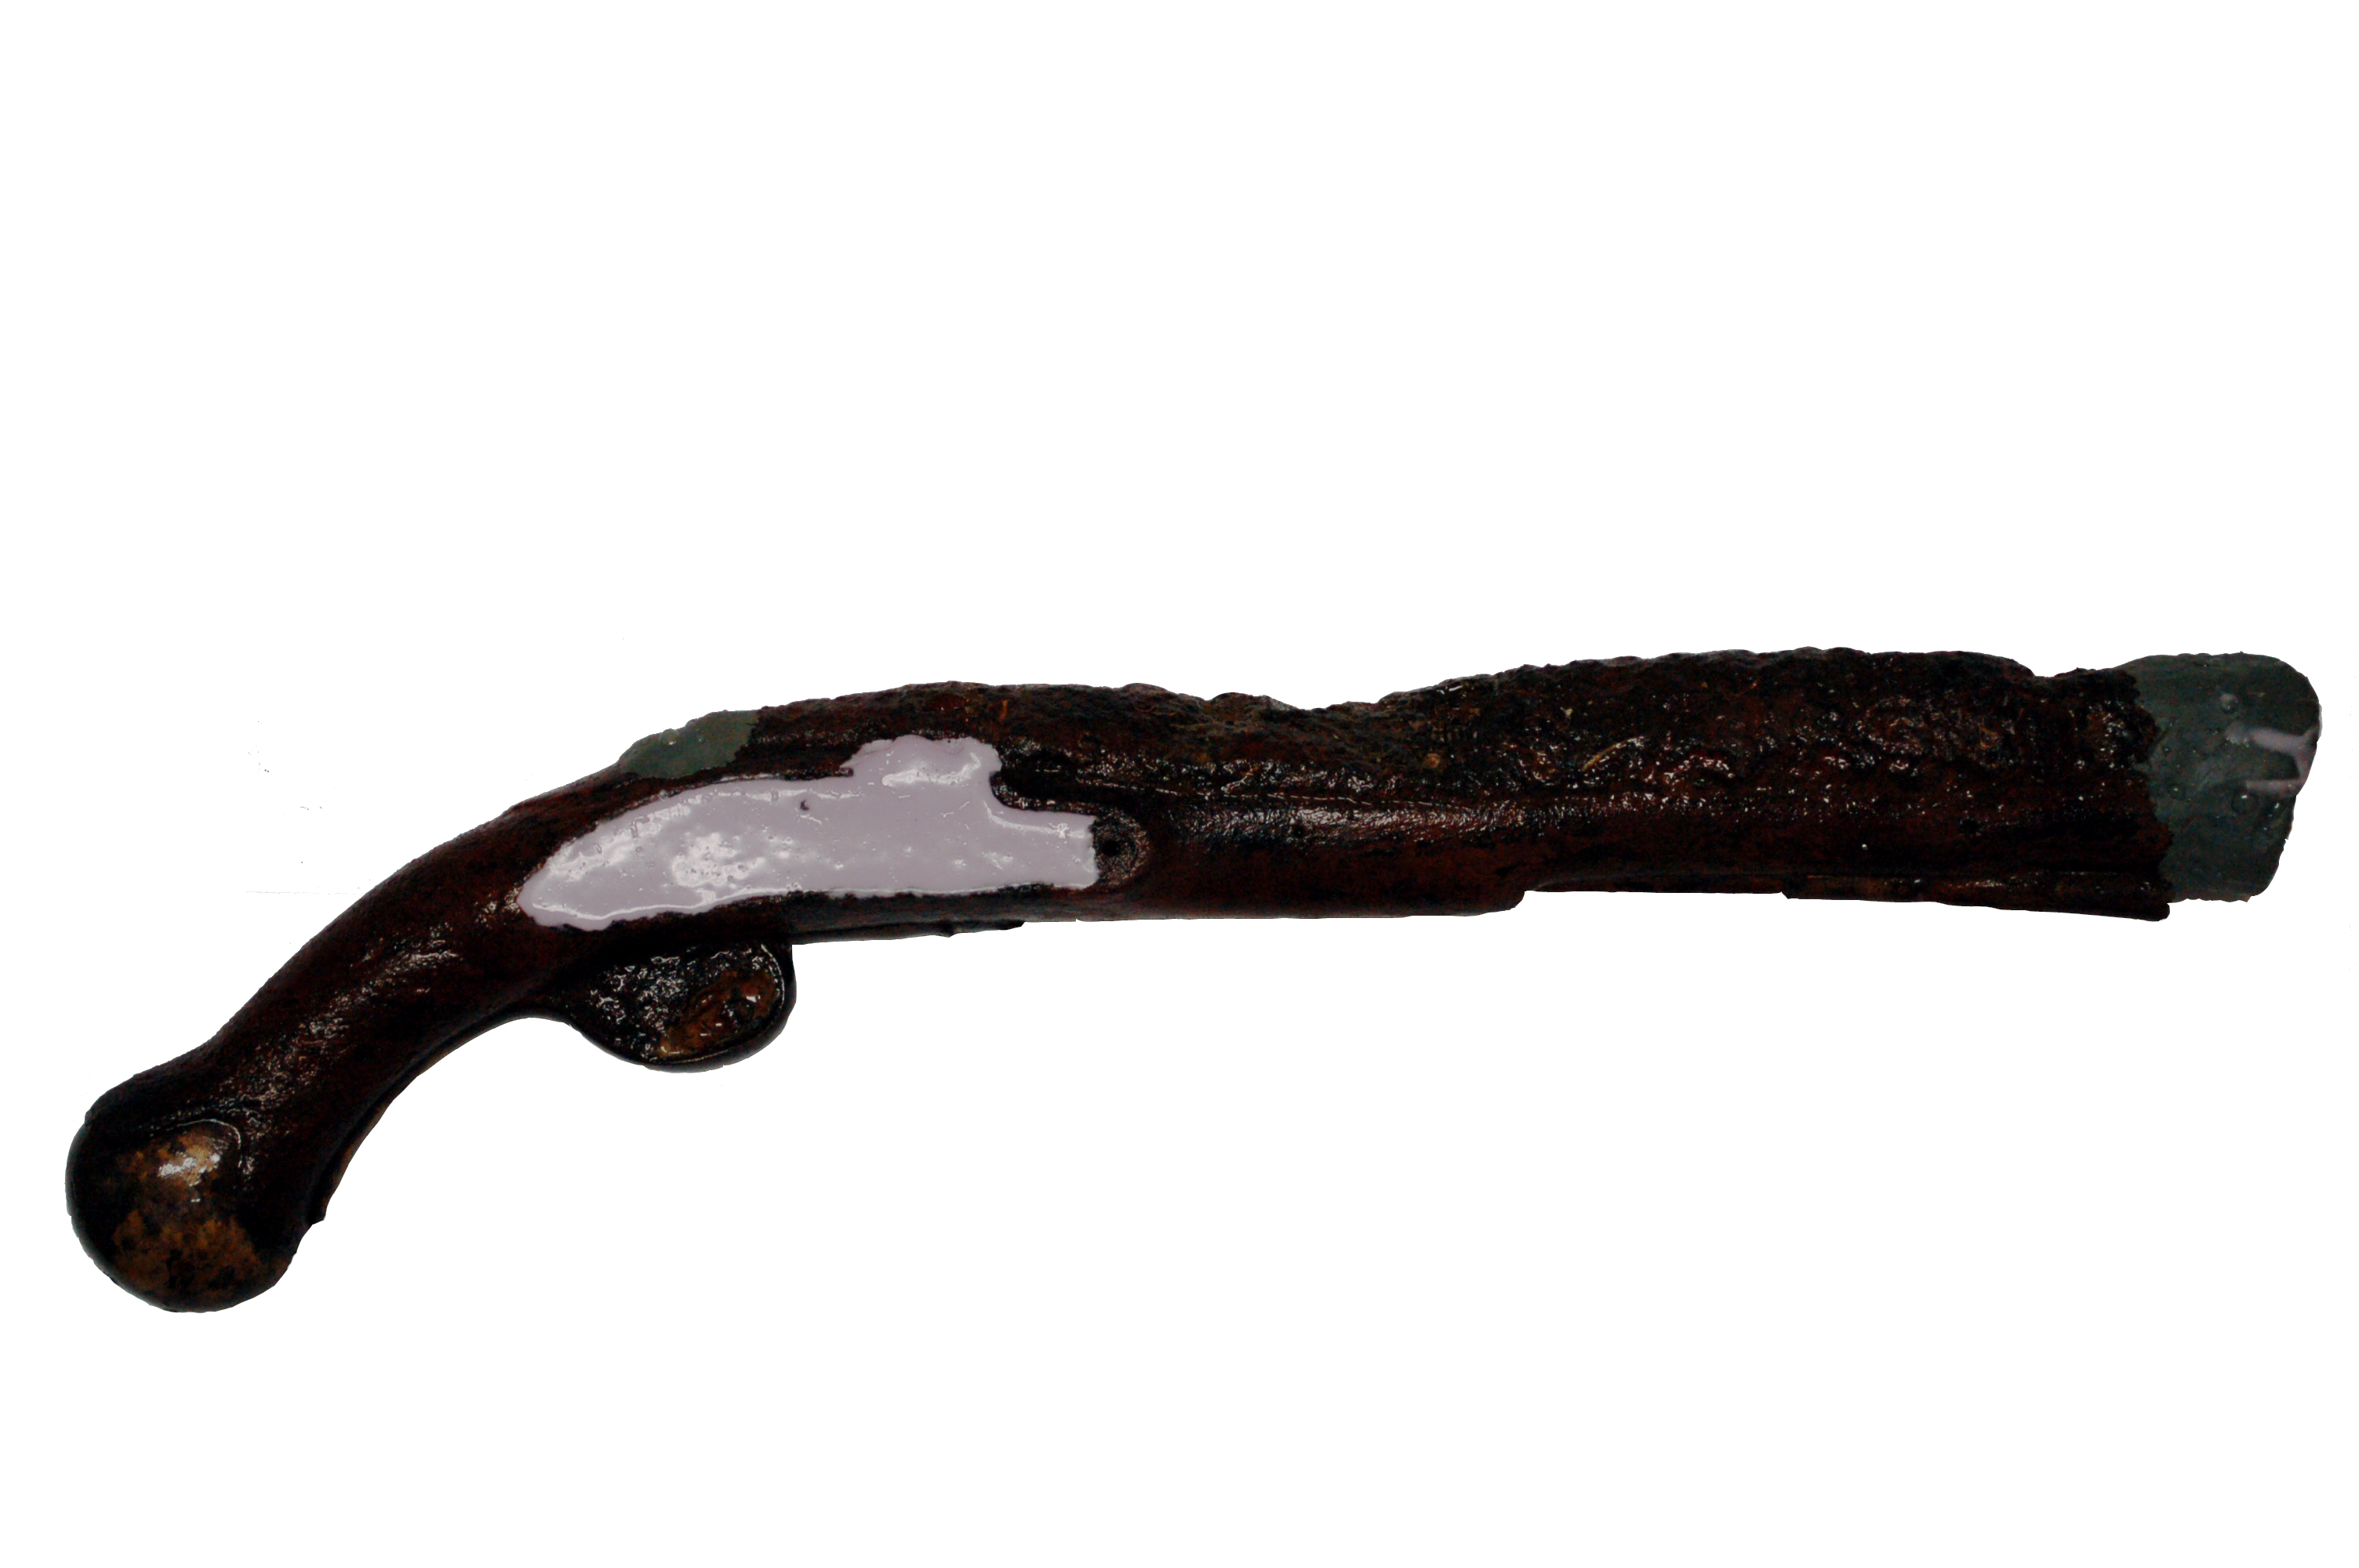
Silicon rubber poured and set into lock area.
Andrew Thomson is the Assistant Conservator for the St. Augustine Lighthouse & Museum. He received his graduate degree and training from the Conservation Research Laboratory at Texas A&M.